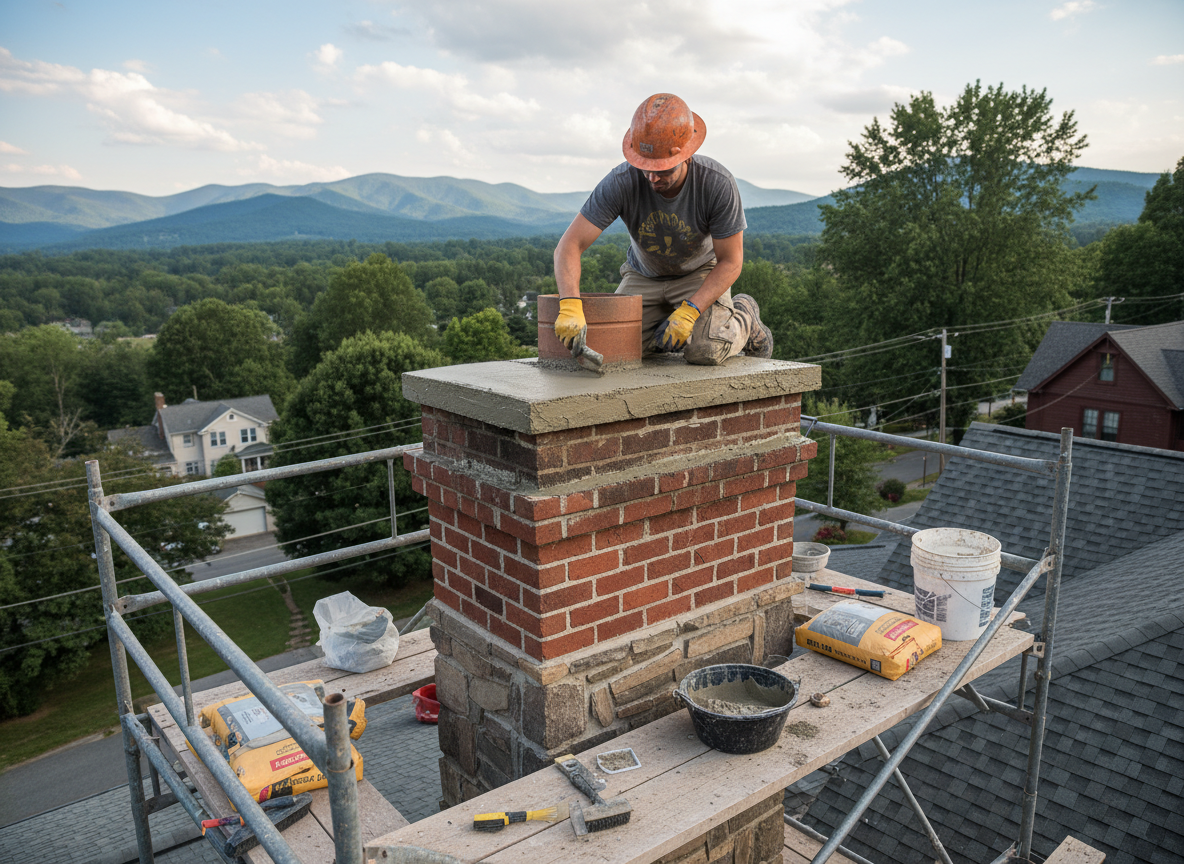
Chimney crowns in Asheville take constant abuse from heavy rainfall and repeated freeze-thaw cycles that open hairline cracks in the concrete cap. Once water reaches the flue liner or brick, it accelerates spalling and can migrate into the attic. Repair starts with removing loose material, then installing a new cap with proper overhang and a drip edge to shed water away from the chimney walls. In older Asheville homes the original crown is often too thin or lacks reinforcement, so we add wire mesh and a flexible sealant compatible with the existing masonry.
Edge cases appear when the crown has settled unevenly because the chimney was built on a sloped lot common around Asheville. That movement cracks the bond between crown and flue tile. We check for hidden voids with a moisture meter before pouring, because trapped water will destroy the new cap within a season. Code requires the crown to extend at least two inches beyond the flue on all sides and slope outward; skipping this detail is the fastest way to repeat the repair.
Homeowners sometimes confuse crown failure with flashing issues. We always inspect both during the same visit because replacing only the crown on a chimney with deteriorated step flashing simply moves the leak. Materials matter here: we use a high-strength, fiber-reinforced mix rather than standard bagged concrete to resist the constant moisture load the Asheville climate delivers.
Technician insight
In Asheville the thing that catches most people out with chimney crown repair is how fast water gets behind a thin original cap on the older brick homes; once it freezes it blows the whole top apart, and homeowners think a little caulk will hold it.
Crown Failure After Heavy Rains
Water was entering the attic after several days of rain on a home in Asheville. Inspection showed the crown had cracked through and water had reached the flue liner. We removed the damaged cap, installed reinforcement, and poured a new sloped crown with drip edge. No further leaks appeared after the next storm cycle.
How it works
- 1
Initial Inspection
Examine crown condition, check for water stains inside the flue and attic, and note any settling from the chimney base.
- 2
Preparation
Remove loose concrete and debris, clean the surface, and install reinforcement mesh where needed.
- 3
Crown Reconstruction
Form and pour a new cap with correct slope, overhang, and drip edge using fiber-reinforced mix.
- 4
Sealing and Finish
Apply compatible sealant at joints and verify water sheds away from brickwork before cleanup.
Pricing
Upfront quotes after on-site inspection; cost varies with chimney height, extent of damage, and access.